Start installing right away!
 Suitable for left-handers, too!
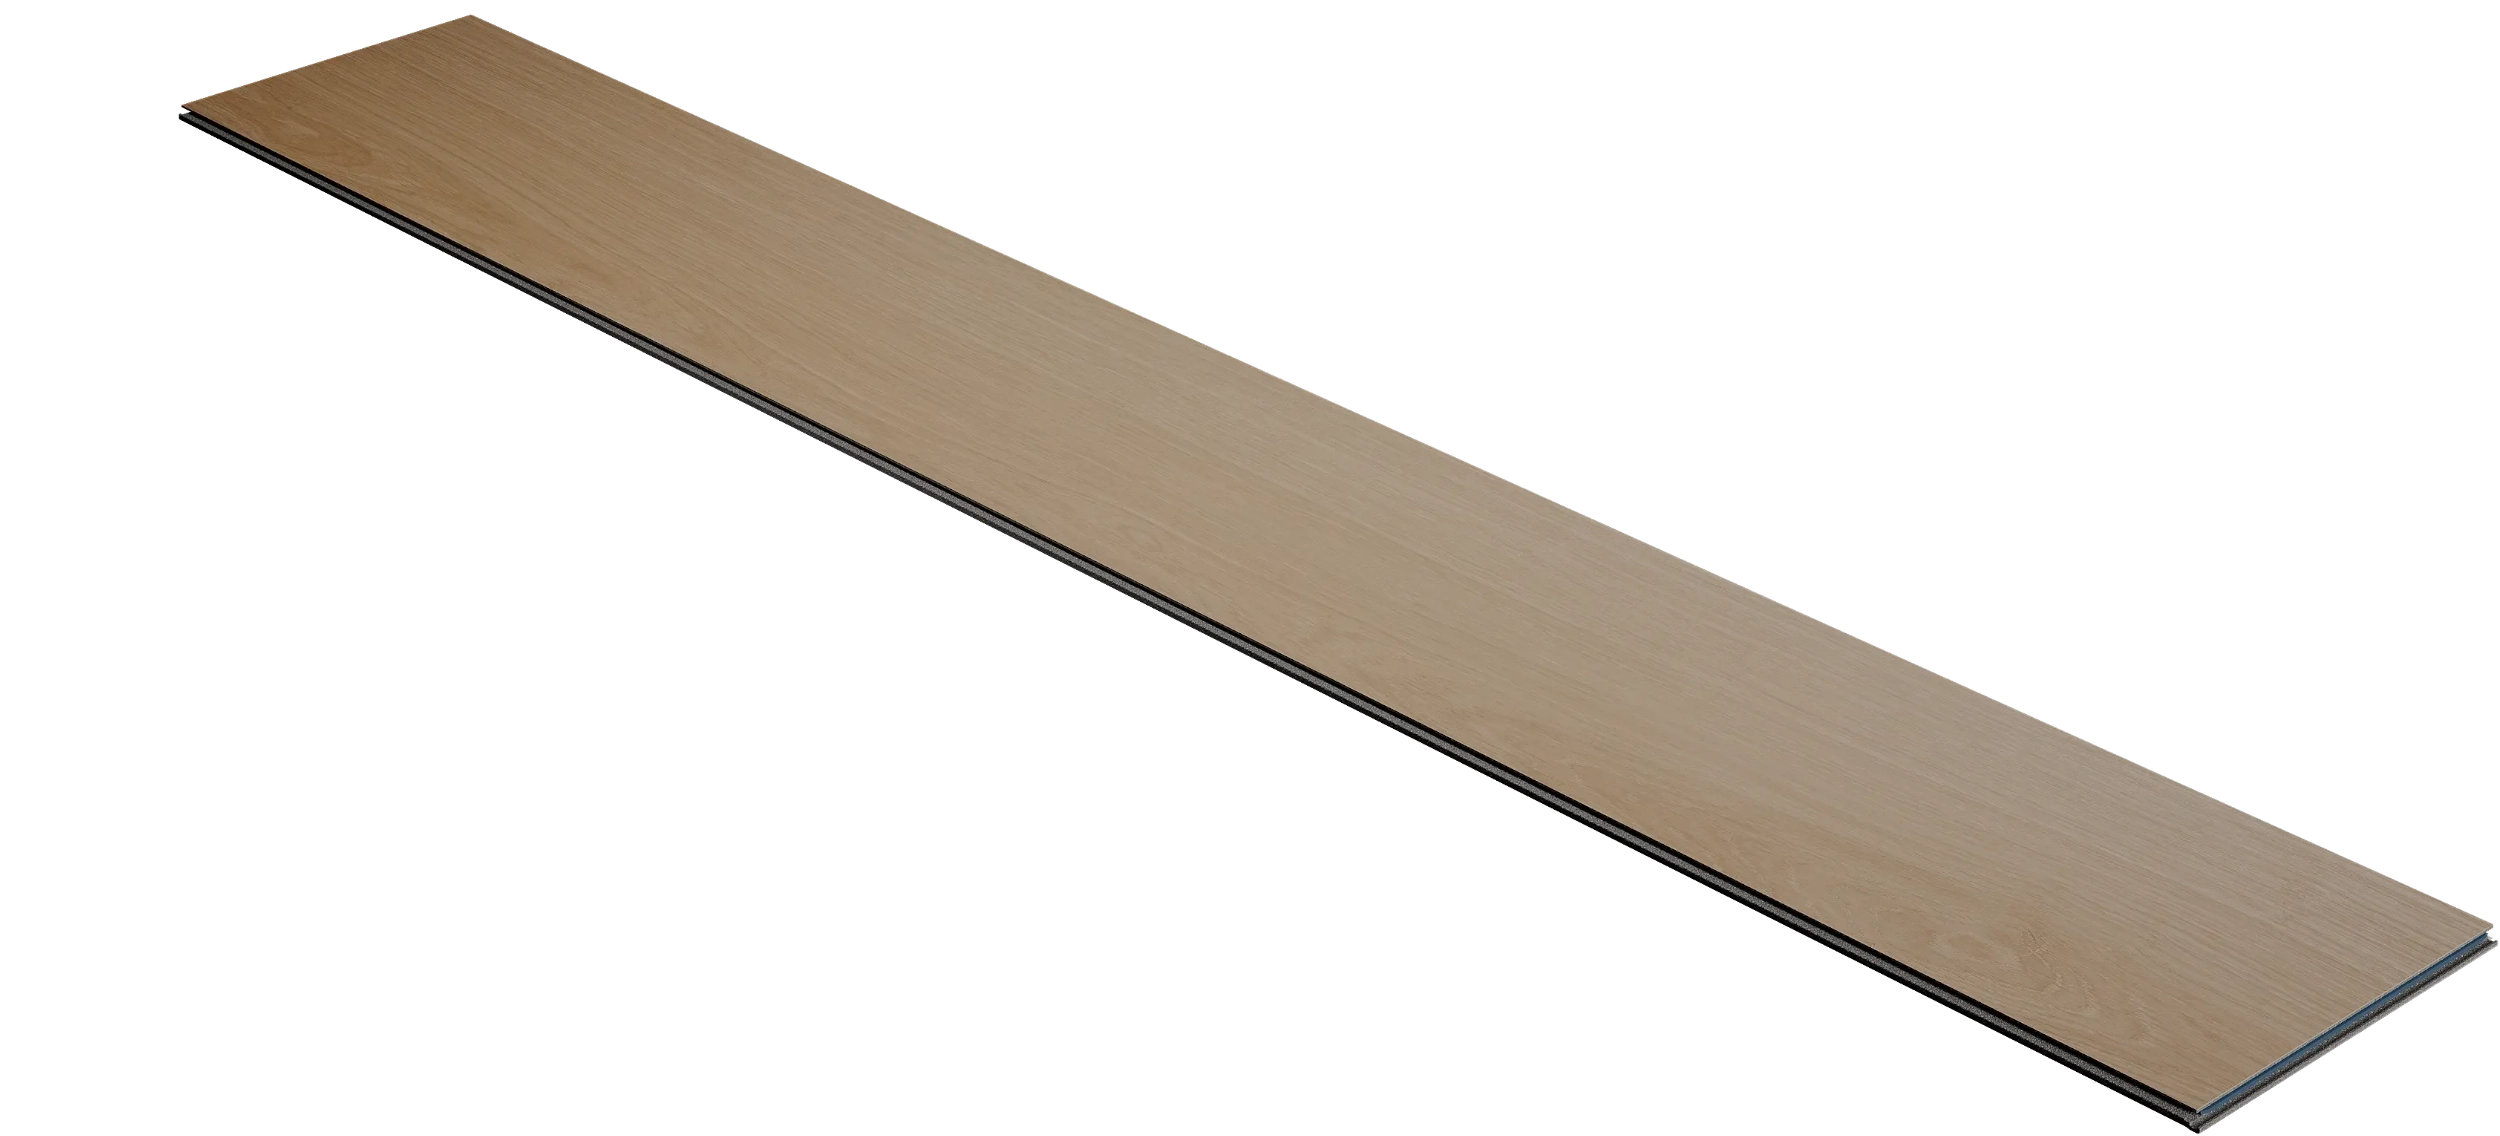
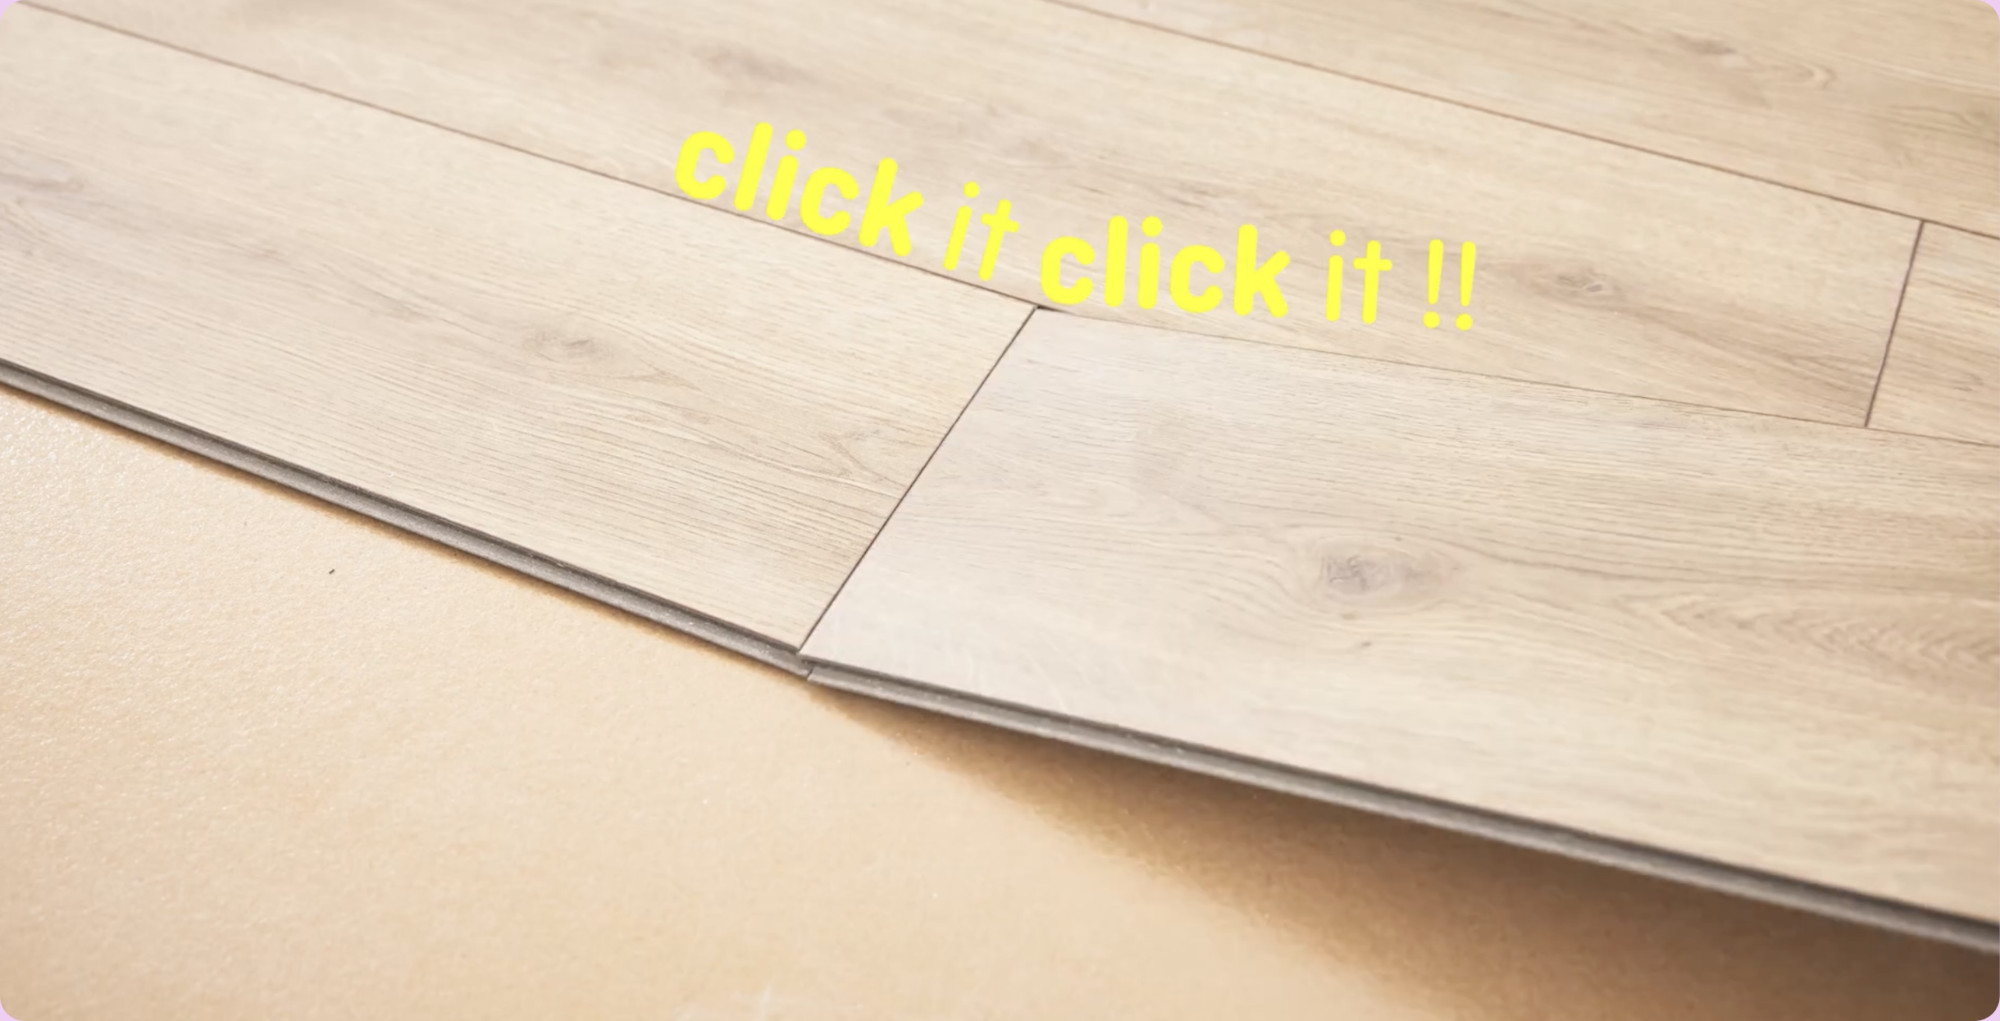
Want to do a little DIY with your new floor? It’s simple. Installing a floor is now easier than ever.
In my tutorial video I’ll show you exactly how to install your kiwi now floor yourself using my intelligent click flooring system – it’s quick and clean, and you don’t need any fancy tools.
Level up your DIY skills and get your project done in style. Watch the video to get started!
Preparation is half the work: 8 top tips for happy floors
- kiwi now panels
- Store the floor panels in the place of installation for at least 48 hours
- 18–24°C room temperature, 40–65% humidity
- Cutter or saw
- Spacers
- Measuring tape and pencil
- Rubber mallet
- Provide for an expansion joint of 10 mm when installing panels next to walls, doors, heating pipes and fixed components
Calculate what you need with me!
I make it simple to work out how many kiwi now flooring packs you require. You’ll get just the right amount, with nothing left over to stretch your budget or take up unnecessary space in your home. The best part: every pack you don’t need helps to conserve resources for our planet. Smart planning for you and your home has never been easier.
*10% in offcuts is factored in automatically to ensure the floor calculation is realistic.